
Category: Recipes

  • Buttermilk Herb Biscuits

    Buttermilk Herb Biscuits

    ← Back to Recipe Book

    There’s an old family saying that you can tell a good cook by her biscuits, and around here we still hold to that. These get a good fistful of fresh herbs worked right into the dough, so they taste like something more than just butter and flour, though there’s plenty of both in there too.

    Prep
    20 min

    Cook
    14 min

    Serves
    10 to 12 biscuits

    Category
    Baked good

    Ingredients

    • 2 cups all-purpose flour, plus more for dusting
    • 1 tablespoon baking powder
    • 1/4 teaspoon baking soda
    • 1 teaspoon salt
    • 1/2 cup (1 stick) unsalted butter, very cold, cut into small cubes
    • 3 tablespoons fresh herbs, finely chopped (chives, parsley, and thyme make a good mix)
    • 3/4 cup cold buttermilk, plus more for brushing

    Instructions

    1. Preheat the oven to 450°F and line a baking sheet with parchment.
    2. In a large bowl, whisk together the flour, baking powder, baking soda, and salt.
    3. Cut the cold butter into the flour mixture using a pastry cutter or your fingertips, working quickly so it doesn’t warm up, until the mixture looks like coarse crumbs with some pea-sized bits of butter still visible.
    4. Stir in the chopped herbs.
    5. Make a well in the center and pour in the buttermilk. Stir gently with a fork just until a shaggy dough comes together. A few dry spots are fine.
    6. Turn the dough out onto a floured surface. Handle it like it owes you money, quick and light. Pat it into a rough rectangle about 1 inch thick, fold it in thirds like a letter, then pat it back out again. Do this fold two or three times, it’s what gives you those flaky layers.
    7. Cut biscuits with a round cutter, pressing straight down without twisting, and place them close together on the baking sheet so they rise up instead of out.
    8. Brush the tops with a little buttermilk.
    9. Bake 12 to 15 minutes, until the tops are golden brown.

    Split one open while it’s still steaming and let the butter melt in. That’s really all a biscuit needs.

    Explore More Fresh Ingredients

    Every recipe in this book starts with something we grew ourselves. Real seeds from our own garden beds, the same ones behind every dish here.
  • Small-Batch Basil Pesto

    Small-Batch Basil Pesto

    ← Back to Recipe Book

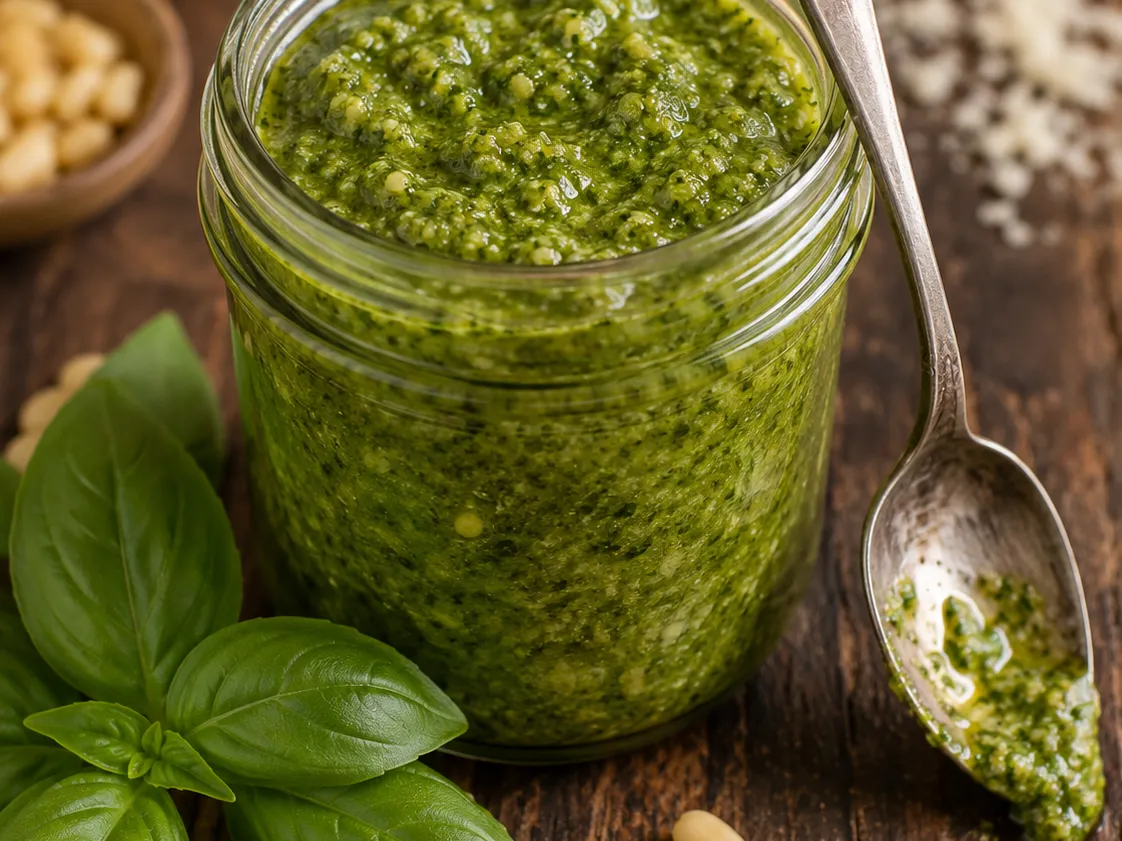
    By August our basil plants get away from us no matter how hard we try to keep up, so pesto season becomes a real thing around here. This is the classic version, nothing fancy, just basil, garlic, good olive oil, and a little cheese, blitzed up and jarred before it can wilt. Freeze what you don’t use right away and you’ll be glad to have it come January.

    Prep
    15 min

    Cook
    No cook

    Serves
    about 1 1/2 cups (three 1/2-pint jars)

    Category
    Sauce/Dressing

    Ingredients

    • 2 cups fresh basil leaves, packed, stems removed
    • 1/2 cup grated Parmesan cheese
    • 1/3 cup pine nuts or walnuts, lightly toasted
    • 2 cloves garlic
    • 1/2 cup olive oil, plus more for topping the jars
    • 1/2 teaspoon salt, plus more to taste
    • Fresh black pepper, to taste

    Instructions

    1. Toast the pine nuts in a dry skillet over medium-low heat for 2 to 3 minutes, shaking often, until fragrant. Let cool slightly.
    2. In a food processor, pulse the basil, Parmesan, toasted nuts, and garlic until finely chopped.
    3. With the processor running, slowly stream in the olive oil until the pesto reaches the consistency you like.
    4. Season with salt and pepper to taste.
    5. Spoon into small clean jars, pressing down to remove air pockets, and top each with a thin layer of olive oil to help it keep.
    6. Refrigerate up to a week, or freeze up to 3 months. It thaws just fine and tastes like summer whenever you open it.

    Toss it with hot pasta, spread it on a sandwich, or spoon it over sliced tomatoes fresh off the vine. However it lands on your plate, it won’t last long. Want to grow your own? Check our guide for basil.

    Explore More Fresh Ingredients

    Every recipe in this book starts with something we grew ourselves. Real seeds from our own garden beds, the same ones behind every dish here.
  • Zucchini Bread

    Zucchini Bread

    ← Back to Recipe Book

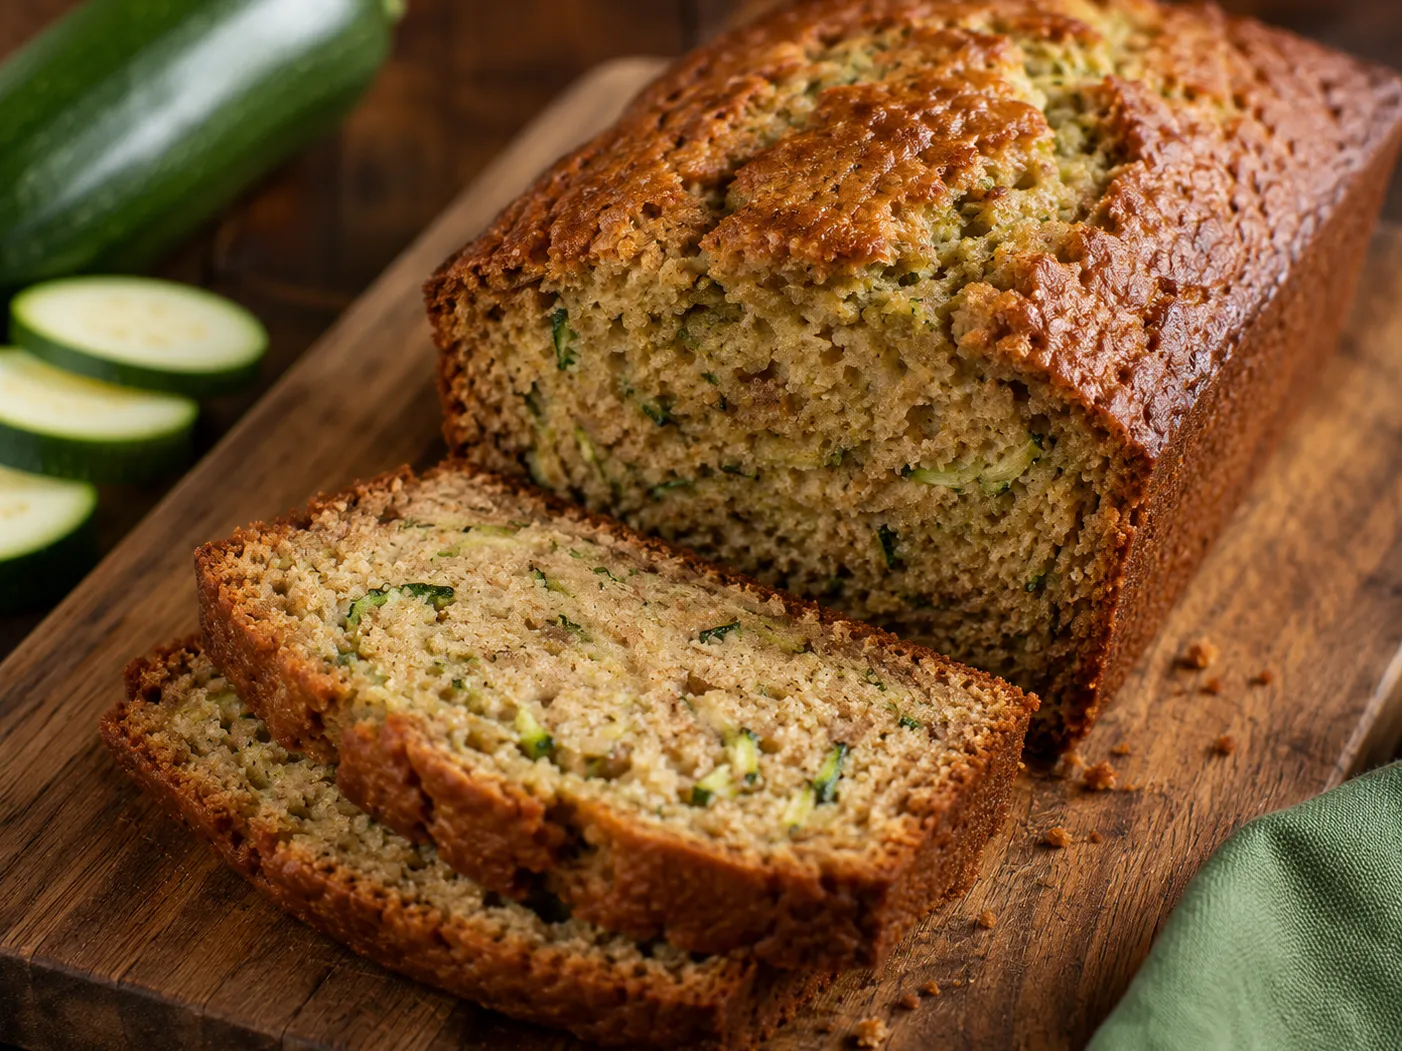
    If you’ve ever grown zucchini, you know the problem isn’t growing it, it’s using it all before it takes over the porch. This bread is our answer, moist and spiced just right, the kind of thing that disappears a slice at a time before it even cools all the way. We’ve been known to give away three loaves for every one we actually keep.

    Prep
    20 min

    Cook
    60 min

    Serves
    2 loaves

    Category
    Baked good

    Ingredients

    • 3 cups all-purpose flour
    • 1 teaspoon baking soda
    • 1/4 teaspoon baking powder
    • 1 teaspoon salt
    • 1 tablespoon ground cinnamon
    • 1/4 teaspoon ground nutmeg
    • 3 eggs, we like ours straight from the coop out back
    • 1 cup vegetable oil
    • 2 1/4 cups granulated sugar
    • 2 teaspoons alcohol-free vanilla extract
    • 2 cups grated zucchini, packed, excess water squeezed out
    • 1 cup chopped walnuts or pecans, optional

    Instructions

    1. Preheat the oven to 350°F. Grease and flour two 8×4-inch loaf pans.
    2. In a large bowl, whisk together the flour, baking soda, baking powder, salt, cinnamon, and nutmeg.
    3. In a separate bowl, whisk the eggs, oil, sugar, and vanilla until well combined.
    4. Fold the wet ingredients into the dry, mixing just until no dry streaks remain. Don’t overmix, a few lumps are fine.
    5. Fold in the zucchini. Gently stir in the grated zucchini and the nuts, if using, just until evenly distributed.
    6. Divide the batter evenly between the two prepared pans.
    7. Bake 55 to 65 minutes, until a toothpick inserted in the center comes out clean. Tent loosely with foil partway through if the tops are browning too fast.
    8. Cool in the pans 10 minutes, then turn the loaves out onto a wire rack to cool completely.

    Wrap tight and it keeps on the counter a few days, or slice and freeze it for whenever the craving hits. Want to grow your own? Check our guide for zucchini.

    Explore More Fresh Ingredients

    Every recipe in this book starts with something we grew ourselves. Real seeds from our own garden beds, the same ones behind every dish here.
  • Jalapeno-Herb Cornbread

    Jalapeno-Herb Cornbread

    ← Back to Recipe Book

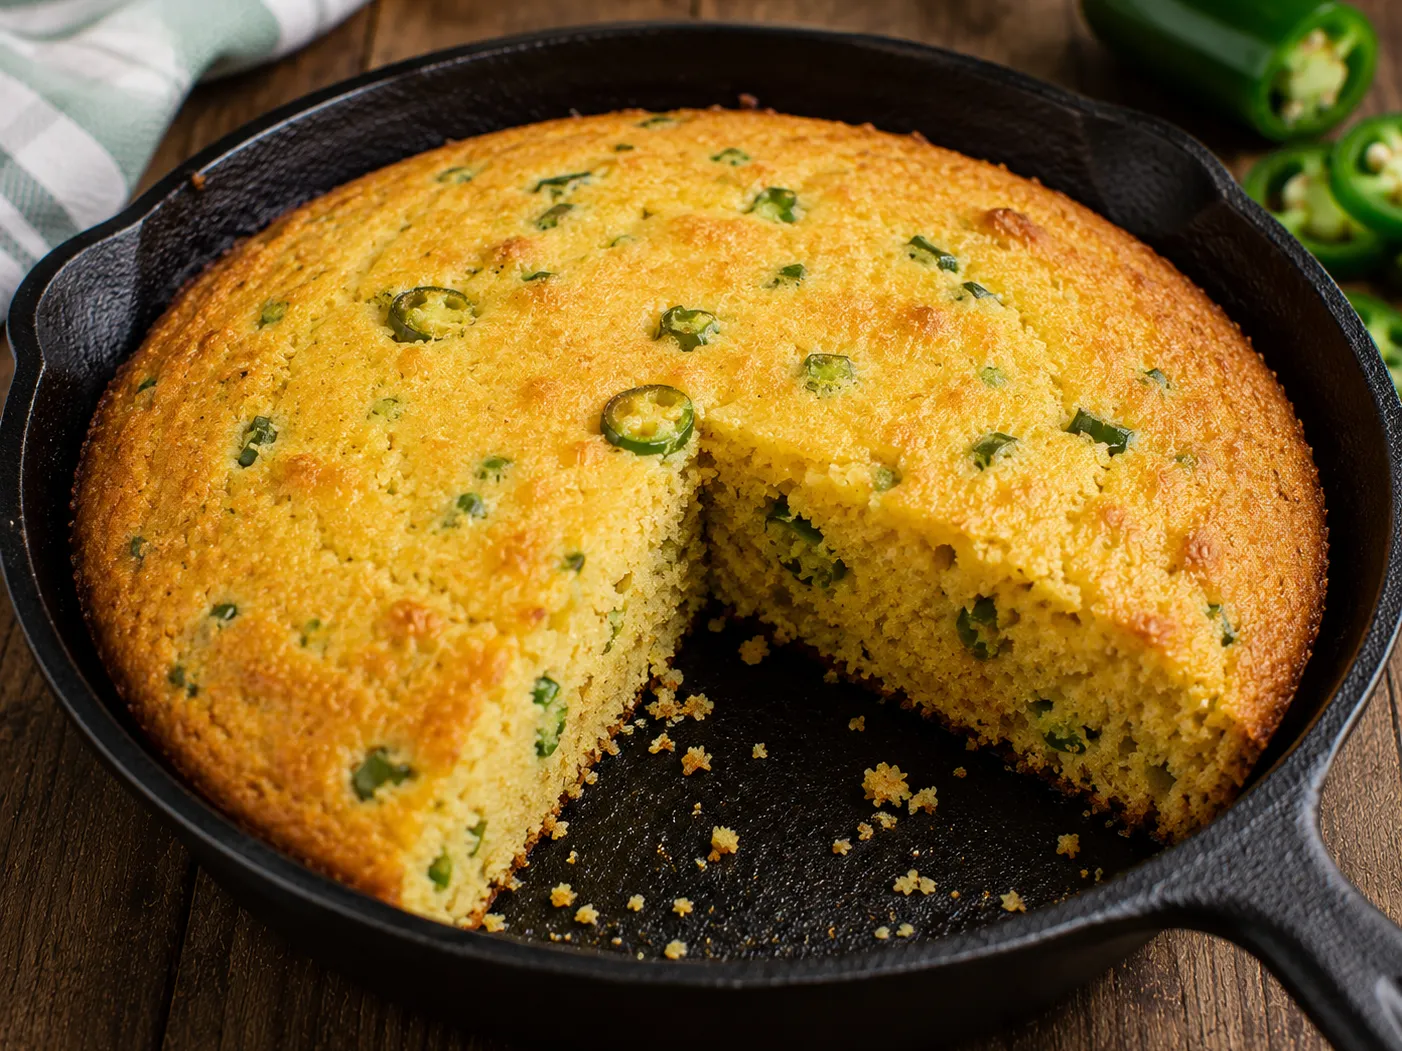
    This isn’t your sweet, cakey cornbread, it’s the savory kind, made in a screaming hot cast iron skillet with a good handful of our own jalapenos and whatever herbs are closest to the back door. It gets a real crust on the bottom, the kind you can hear when you tap it. Serve it warm with butter and don’t expect leftovers.

    Prep
    15 min

    Cook
    22 min

    Serves
    8

    Category
    Side dish

    Ingredients

    • 1 cup yellow cornmeal
    • 1 cup all-purpose flour
    • 1 tablespoon baking powder
    • 1/2 teaspoon baking soda
    • 1 teaspoon salt
    • 2 tablespoons sugar, optional
    • 2 eggs
    • 1 1/4 cups buttermilk
    • 7 tablespoons unsalted butter, melted and divided
    • 2 jalapenos, seeded and diced (leave some seeds in if you want more heat)
    • 1/3 cup shredded sharp cheddar, optional
    • 3 tablespoons fresh herbs, chopped (chives, parsley, and thyme are our go-to)

    Instructions

    1. Preheat the oven to 425°F with a 9- or 10-inch cast iron skillet inside to heat up along with it.
    2. In a large bowl, whisk together the cornmeal, flour, baking powder, baking soda, salt, and sugar if using.
    3. In another bowl, whisk the eggs, buttermilk, and 6 tablespoons of the melted butter.
    4. Pour the wet ingredients into the dry and stir just until combined. Fold in the jalapenos, cheddar, and herbs.
    5. Carefully pull the hot skillet from the oven and add the remaining tablespoon of butter, swirling to coat the bottom and sides. It should sizzle the second it hits the pan.
    6. Pour the batter into the hot skillet, it’ll sizzle around the edges, that’s exactly what you want.
    7. Bake 20 to 25 minutes, until golden brown and a toothpick comes out clean.
    8. Let rest 5 minutes in the skillet before slicing into wedges.

    Best eaten warm, straight out of the skillet, with butter melting into every crack. Want to grow your own? Check our guide for jalapenos.

    Explore More Fresh Ingredients

    Every recipe in this book starts with something we grew ourselves. Real seeds from our own garden beds, the same ones behind every dish here.
  • Bell Pepper & Jalapeno Jelly

    Bell Pepper & Jalapeno Jelly

    ← Back to Recipe Book

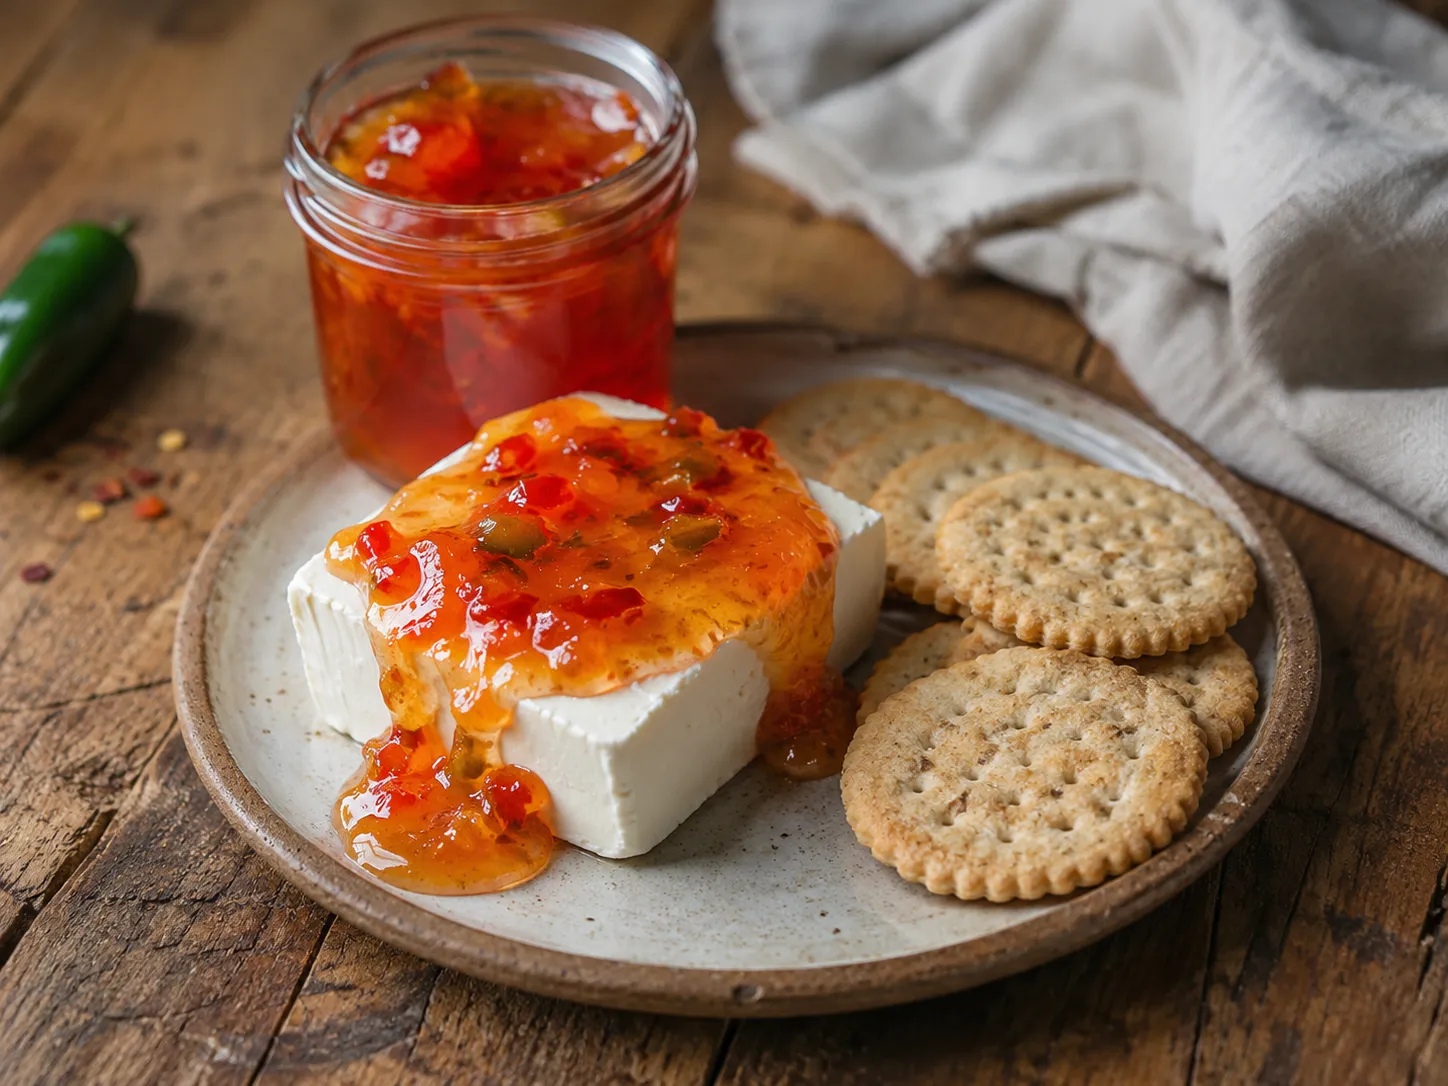
    This is the jar that shows up at every gift exchange and church potluck we’ve ever been part of, spooned over a block of cream cheese with a stack of crackers alongside. Sweet first, then a slow heat that creeps in behind it, built from our own bell peppers and jalapenos. It’s a little bit of a project, but the kind that pays you back all winter.

    Prep
    20 min

    Cook
    15 min (plus 10 min processing)

    Serves
    about 6 to 7 half-pint jars

    Category
    Preserve

    Ingredients

    • 3/4 cup finely diced red bell pepper, seeds and ribs removed
    • 1/4 to 1/2 cup finely diced jalapeno, seeds removed for milder heat, left in for more
    • 1 1/2 cups apple cider vinegar
    • 6 cups granulated sugar
    • 2 pouches (3 oz each) liquid pectin

    Instructions

    1. Get your jars ready first. Wash 7 half-pint (8 oz) canning jars in hot soapy water, then sterilize them by boiling in a water bath canner for 10 minutes. Keep them hot in the water until you’re ready to fill them. Simmer the lids in a small pot of water (don’t boil them, just keep them hot) according to the manufacturer’s directions.
    2. In a large, heavy-bottomed pot, combine the bell pepper, jalapeno, and cider vinegar.
    3. Stir in the sugar and set the pot over high heat. Bring to a full rolling boil, one that doesn’t stop bubbling when you stir it, and boil for exactly 1 minute, stirring constantly.
    4. Remove from the heat and immediately stir in the liquid pectin. Return to the heat and bring back to a full boil for 1 more minute, still stirring.
    5. Remove from heat and skim off any foam on the surface with a metal spoon.
    6. Ladle the hot jelly into the hot jars, leaving 1/4 inch of headspace at the top. Wipe the jar rims clean with a damp cloth, this matters for getting a good seal.
    7. Center the lids on the jars and screw the rings on fingertip-tight, not cranked down.
    8. Process the filled jars in a boiling water bath for 10 minutes (add 5 minutes if you’re above 1,000 feet elevation), keeping the jars fully submerged.
    9. Remove the jars and let them cool undisturbed on a towel or rack for 12 to 24 hours. You should hear a satisfying little “ping” as each lid seals. Check that the lids are sucked down tight before storing, and refrigerate any jar that didn’t seal, using it up within a few weeks.

    Store sealed jars in a cool, dark spot for up to a year. Come Christmas, you’ll be glad you made extra. Want to grow your own? Check our guides for bell peppers and jalapenos.

    Explore More Fresh Ingredients

    Every recipe in this book starts with something we grew ourselves. Real seeds from our own garden beds, the same ones behind every dish here.

  • Tomato-Basil Preserves

    Tomato-Basil Preserves

    ← Back to Recipe Book

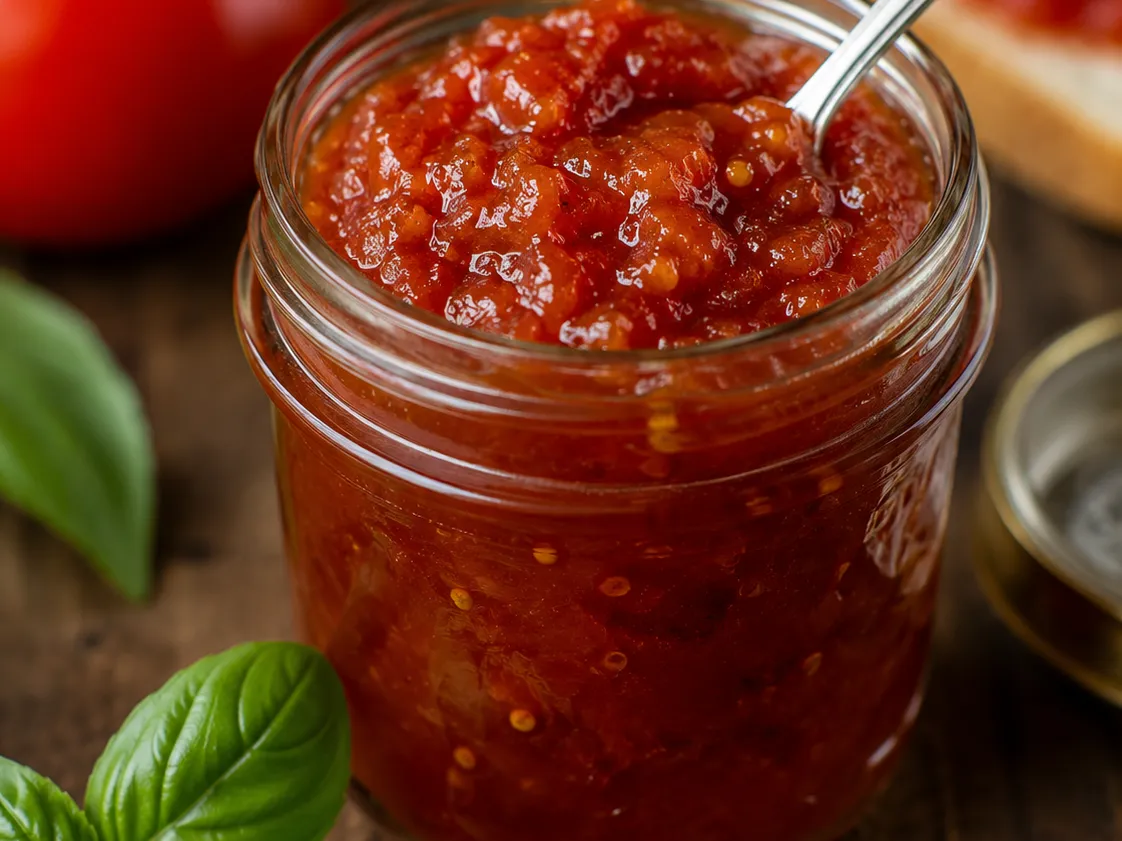
    When the tomato plants finally give up all at once in late summer, this is how we make sure none of it goes to waste. It cooks down slow into something between a jam and a chutney, sweet with a little tang running underneath, and fresh basil stirred in right at the end so it stays bright. Spread it on a warm biscuit or spoon it next to a wedge of cheese, either way it disappears fast.

    Prep
    30 min (plus 1 hr macerating)

    Cook
    90 min (plus 15 min processing)

    Serves
    about 5 to 6 half-pint jars

    Category
    Preserve

    Ingredients

    • 4 lbs ripe tomatoes, a mix of paste and slicing tomatoes works well
    • 4 cups granulated sugar
    • 1/4 cup bottled lemon juice (bottled, not fresh squeezed, so the acidity stays consistent)
    • 1 lemon, thinly sliced into rounds, seeds removed
    • 1/3 cup fresh basil, thinly sliced, plus a few whole small leaves

    Instructions

    1. Peel the tomatoes. Score a shallow X on the bottom of each tomato, then blanch in boiling water 30 to 45 seconds until the skins start to loosen. Transfer to an ice bath, then slip the skins off.
    2. Core, seed, and roughly chop the tomatoes. Place them in a large, heavy-bottomed pot, they’ll cook down a lot, so don’t worry that it looks like too much at first.
    3. Stir in the sugar, bottled lemon juice, and lemon slices. Let the mixture stand at room temperature for about 1 hour so the tomatoes release their juices.
    4. Bring the mixture to a boil over medium-high heat, then reduce to a steady simmer.
    5. Cook uncovered for 1 to 1 1/2 hours, stirring occasionally at first and more often as it thickens, until the preserves are deep amber-red, glossy, and mound up on a cold spoon rather than running off it. If you have a candy thermometer, you’re looking for around 220°F.
    6. Remove and discard the lemon slices. Stir in the fresh basil during the last 5 minutes of cooking so it stays fragrant instead of cooking flat.
    7. While the preserves cook, wash and sterilize 6 half-pint canning jars by boiling them 10 minutes, and keep the lids warm in a separate small pot of hot (not boiling) water.
    8. Ladle the hot preserves into the hot jars, leaving 1/4 inch headspace. Wipe the rims clean, center the lids, and screw the rings on fingertip-tight.
    9. Process in a boiling water bath for 15 minutes (add 5 minutes above 1,000 feet elevation), keeping jars fully submerged.
    10. Remove and cool undisturbed for 12 to 24 hours, checking that each lid has sealed tight before storing. Refrigerate any unsealed jars and use within a few weeks.

    There’s something about a jar of this on the shelf in January that makes the whole summer feel a little closer. Want to grow your own? Check our guides for basil and tomatoes.

    Explore More Fresh Ingredients

    Every recipe in this book starts with something we grew ourselves. Real seeds from our own garden beds, the same ones behind every dish here.
  • Mint-Cucumber Sweet Tea

    Mint-Cucumber Sweet Tea

    ← Back to Recipe Book

    Sweet tea is practically its own food group down here, and come July we start dressing ours up with whatever’s cooling in the garden. This one gets a good handful of mint and thin cucumber rounds steeped right in, so it drinks more like a porch cooler than plain old tea. Nothing stiff about it, just something cold to hand somebody who just walked in from the heat.

    Prep
    15 min (plus 2 hr chilling)

    Cook
    10 min

    Serves
    8 glasses

    Category
    Drink

    Ingredients

    • 6 cups water
    • 6 family-size black tea bags (or 1/3 cup loose black tea)
    • 1 cup fresh mint leaves, loosely packed, plus extra sprigs for garnish
    • 3/4 to 1 cup granulated sugar, to taste
    • 1 cucumber, thinly sliced, plus extra for garnish
    • Juice of 1 lemon
    • 2 cups cold water
    • Ice, for serving

    Instructions

    1. Bring the 6 cups of water to a boil in a large pot. Remove from heat, add the tea bags and half the mint, and let steep 8 to 10 minutes.
    2. Remove the tea bags and mint, and while the tea is still hot, stir in the sugar until fully dissolved.
    3. Lightly muddle a few cucumber slices in the bottom of a large pitcher, just enough to release some juice.
    4. Pour the hot tea into the pitcher, add the remaining cucumber slices, the rest of the fresh mint, and the lemon juice.
    5. Stir in the 2 cups of cold water to bring it down to drinking strength.
    6. Refrigerate at least 2 hours to chill through and let the cucumber and mint flavor the tea.
    7. Serve over ice with a sprig of mint and a cucumber slice in each glass.

    Cool, green, and just sweet enough, this is what we keep in the fridge all summer for anybody who comes by. Want to grow your own? Check our guide for cucumbers.

    Explore More Fresh Ingredients

    Every recipe in this book starts with something we grew ourselves. Real seeds from our own garden beds, the same ones behind every dish here.
  • Garden Chimichurri for the Grill

    Garden Chimichurri for the Grill

    ← Back to Recipe Book

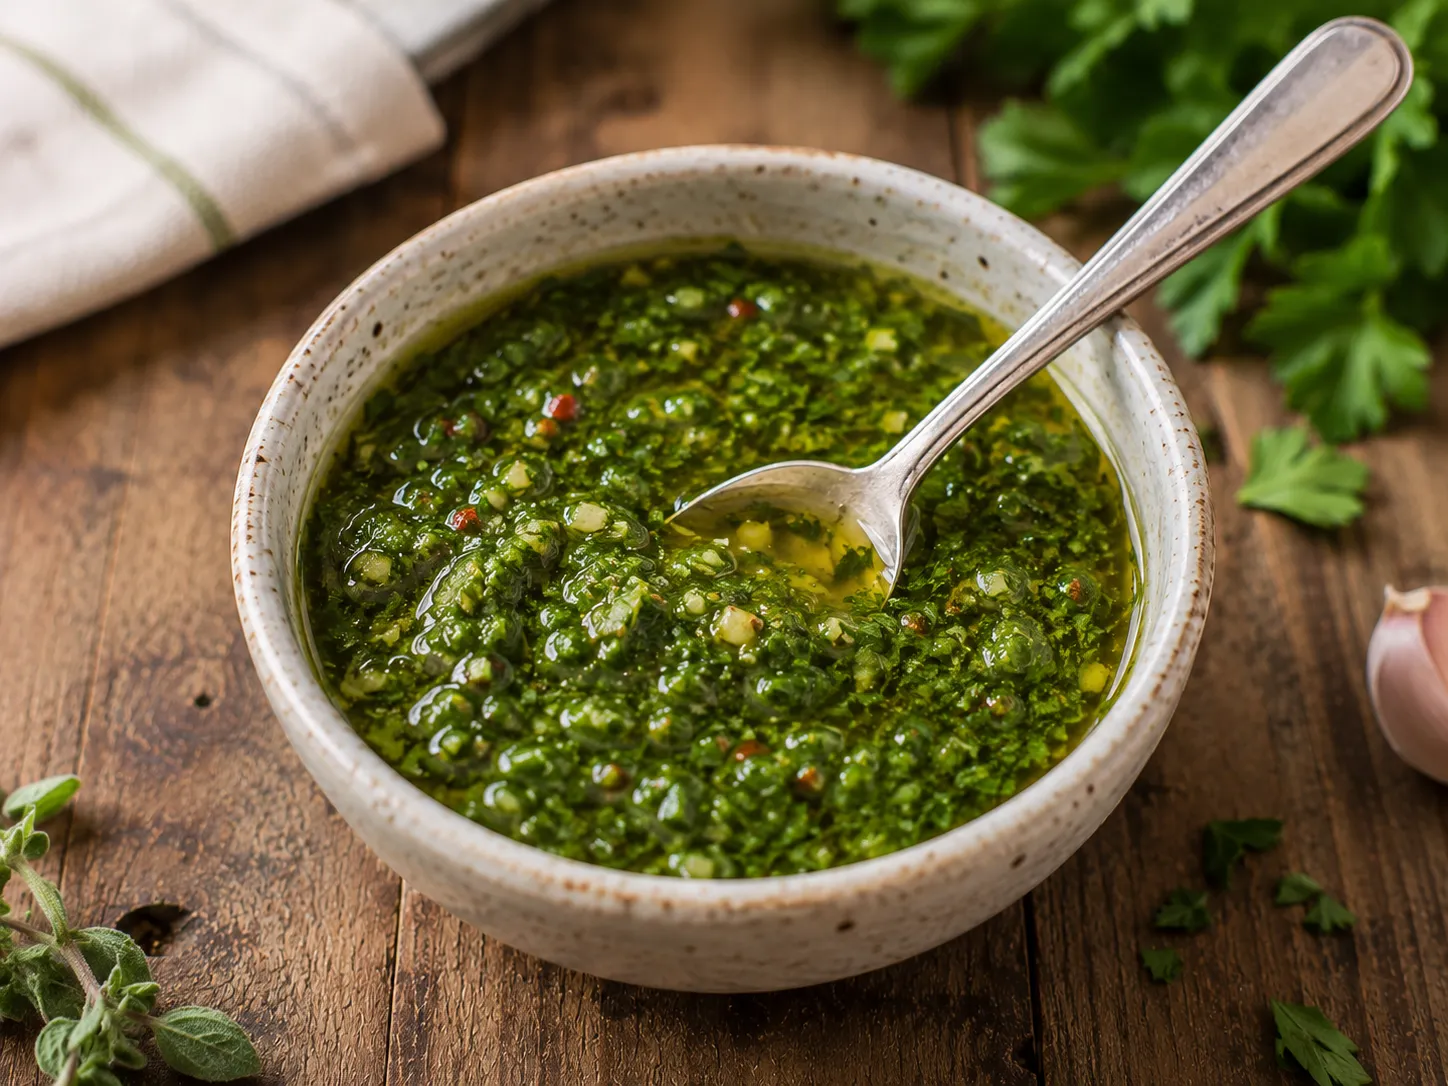
    Every summer we end up with more parsley than we know what to do with, and this is where most of it goes. Bright, garlicky, a little sharp from the vinegar, this sauce doesn’t much care what’s on the grill, it just makes it better. Spoon it over grilled squash, chicken, shrimp, whatever you’ve got going, and don’t be shy with it.

    Prep
    15 min (plus 20 min resting)

    Cook
    No cook

    Serves
    about 1 1/2 cups

    Category
    Sauce/Dressing

    Ingredients

    • 1 cup fresh parsley, finely chopped, packed
    • 1/4 cup fresh oregano leaves, finely chopped (or 2 tablespoons dried oregano)
    • 4 cloves garlic, minced
    • 2 tablespoons minced sweet onion or shallot
    • 1/2 to 1 teaspoon red pepper flakes, to taste
    • 1/3 cup apple cider vinegar
    • 2/3 cup olive oil
    • 1 teaspoon salt
    • 1/2 teaspoon black pepper

    Instructions

    1. Finely chop the parsley and oregano by hand rather than in a food processor. It keeps the texture right, a little rustic instead of pureed.
    2. In a bowl, combine the herbs, garlic, onion, and red pepper flakes.
    3. Whisk in the vinegar first, then slowly whisk in the olive oil until it comes together.
    4. Season with salt and pepper.
    5. Let it sit at room temperature for at least 20 minutes before serving so the flavors can get acquainted.
    6. Spoon generously over whatever’s coming off the grill.

    Any leftovers keep in the fridge for about a week. Just let it come back to room temperature before you use it again, the olive oil firms up cold.

    Explore More Fresh Ingredients

    Every recipe in this book starts with something we grew ourselves. Real seeds from our own garden beds, the same ones behind every dish here.
  • Buttermilk Herb Ranch Dressing

    Buttermilk Herb Ranch Dressing

    ← Back to Recipe Book

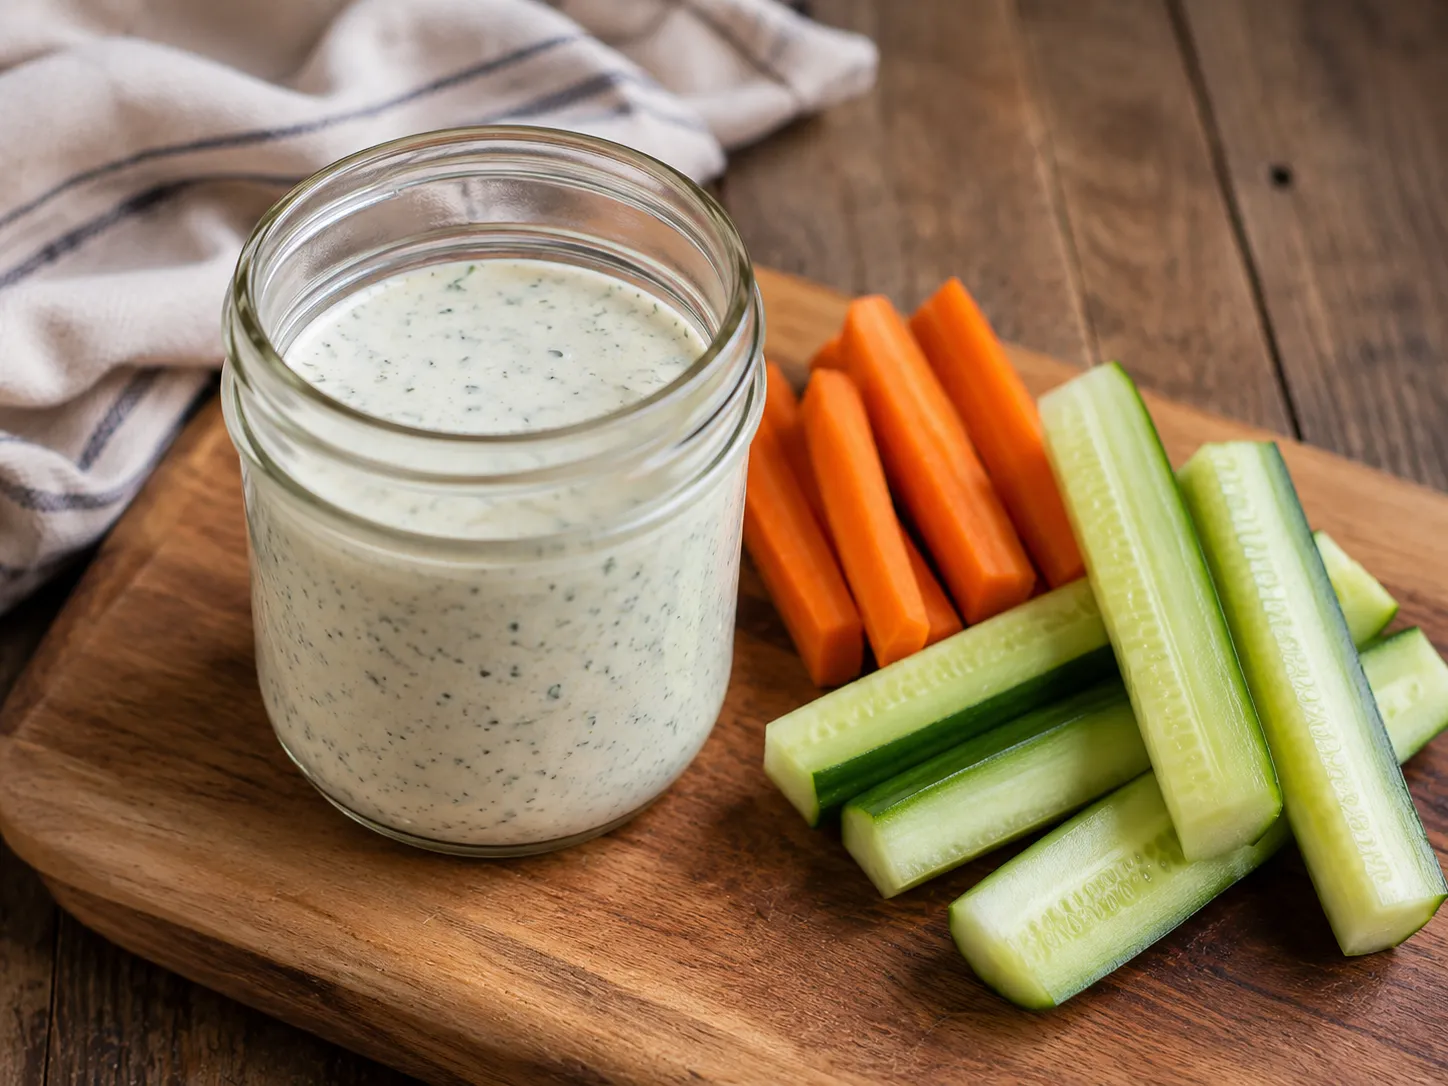
    Store-bought ranch hasn’t made it into our fridge in years, not since we started making our own with whatever herbs were thickest in the garden that week. This one leans on real buttermilk and a good fistful of dill, chives, and parsley, so it tastes like something worth dunking a whole plate of vegetables into.

    Prep
    10 min

    Cook
    No cook

    Serves
    about 2 cups

    Category
    Sauce/Dressing

    Ingredients

    • 1 cup mayonnaise
    • 1/2 cup sour cream
    • 1/2 to 3/4 cup buttermilk, to desired thickness
    • 2 tablespoons fresh chives, minced
    • 2 tablespoons fresh dill, minced
    • 2 tablespoons fresh parsley, minced
    • 1 clove garlic, finely grated or minced
    • 1/2 teaspoon onion powder
    • 1 tablespoon fresh lemon juice
    • Salt and black pepper, to taste

    Instructions

    1. In a medium bowl, whisk the mayonnaise and sour cream together until smooth.
    2. Whisk in the buttermilk a little at a time until it’s the consistency you like. Thinner for a dip, thicker for drizzling.
    3. Stir in the chives, dill, parsley, garlic, and onion powder.
    4. Add the lemon juice, then season with salt and pepper.
    5. Cover and refrigerate at least 30 minutes before serving, longer if you can stand to wait. The flavor rounds out the longer it sits.

    Keeps about a week in the fridge, though it rarely lasts that long once folks know it’s in there.

    Explore More Fresh Ingredients

    Every recipe in this book starts with something we grew ourselves. Real seeds from our own garden beds, the same ones behind every dish here.

  • Cucumbers and Onions

    Cucumbers and Onions

    ← Back to Recipe Book

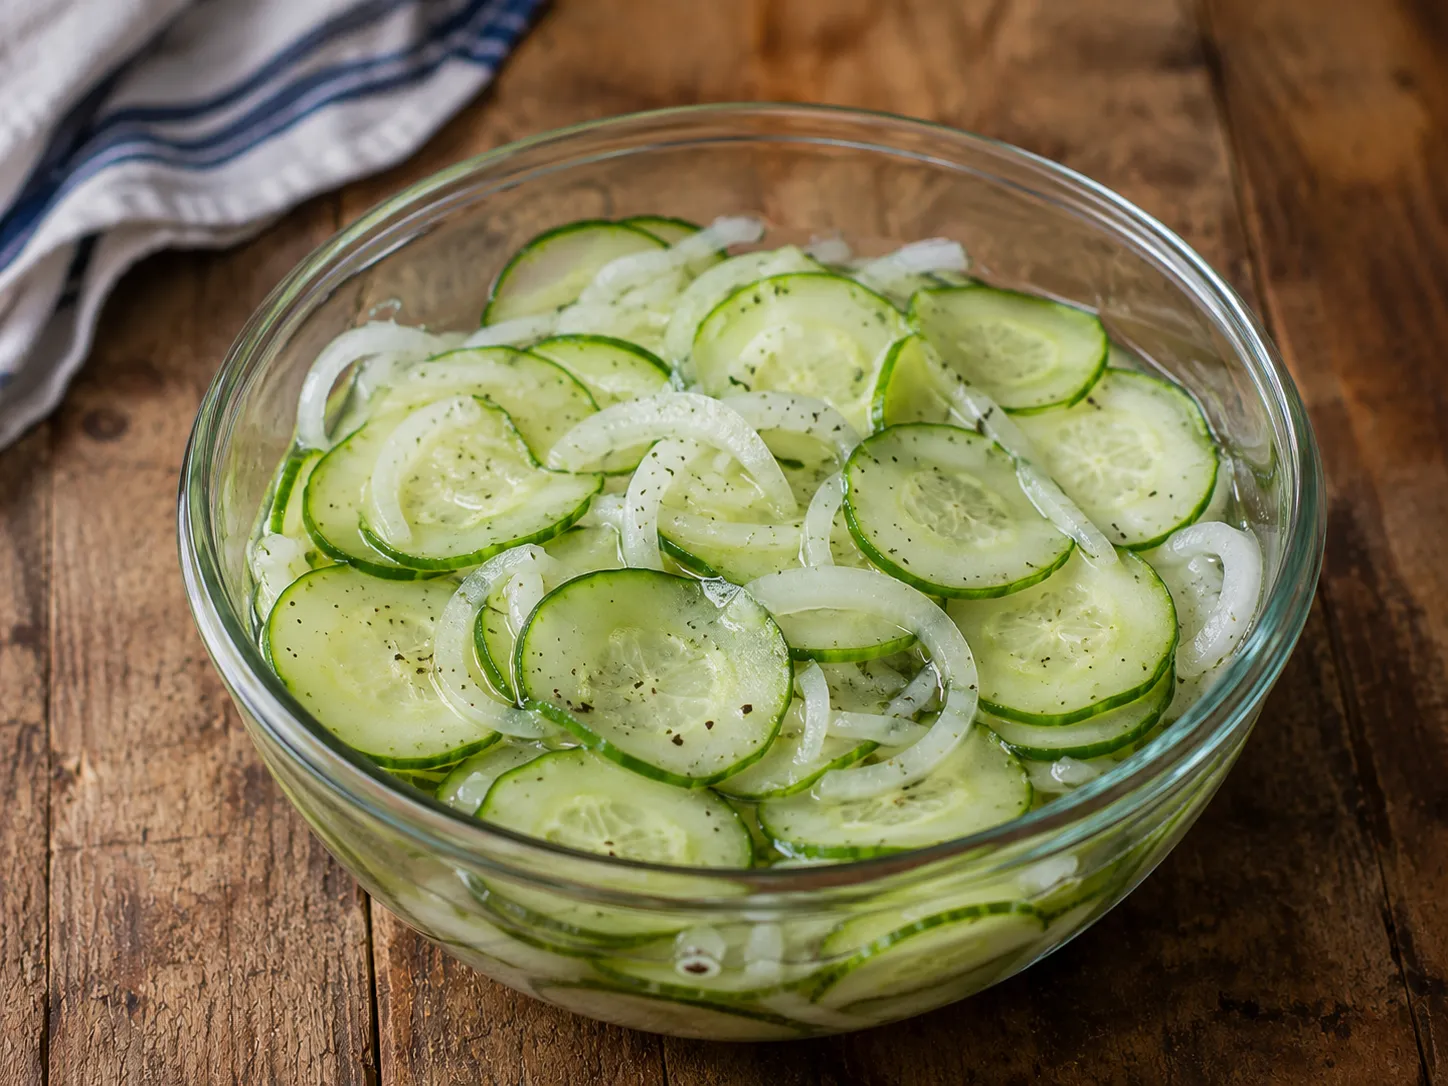
    This one doesn’t get a recipe card in most Southern kitchens because it doesn’t need one, you just know it by feel after the first time or two. Thin-sliced cucumbers, sweet onion, and a tangy vinegar bath, sitting in the icebox waiting on supper. We make this all summer long with whatever cucumbers are coming in fastest.

    Prep
    15 min (plus 1 hour to chill)

    Cook
    No cook

    Serves
    6

    Category
    Side dish

    Ingredients

    • 3 medium cucumbers, thinly sliced
    • 1 sweet onion, thinly sliced
    • 1 cup apple cider vinegar
    • 1/2 cup water
    • 1/3 cup sugar
    • 1 tablespoon salt
    • 1/2 teaspoon black pepper
    • 1 tablespoon chopped fresh dill (optional)

    Instructions

    1. Combine the cucumbers and onion in a large bowl.
    2. In a separate bowl or jar, whisk together the vinegar, water, sugar, salt, and pepper until the sugar and salt dissolve.
    3. Pour the brine over the cucumbers and onion, and toss to coat everything evenly.
    4. Sprinkle in the dill, if using.
    5. Cover and refrigerate at least 1 hour, though it’s better after 4 hours, and better still the next day.
    6. Give it a stir before serving straight from the fridge.

    Keep a jar of this going all summer. It just gets better the longer it sits. Want to grow your own? Check our guide for cucumbers.

    Explore More Fresh Ingredients

    Every recipe in this book starts with something we grew ourselves. Real seeds from our own garden beds, the same ones behind every dish here.